I wrote my first blog that involved Minikube in February 2019. And I still use Minikube a lot.
Recently I tried to figure out how to run Kubernetes exercises on a “memory challenged” notebook (8 GB RAM). I looked into alternatives, namely K3s (a small foorprint Kubernetes distribution) and K3d which uses K3s and runs it on top of Docker and not in a VM. That sounded like a solution to the memory challenge. K3d runs Docker in Docker: a worker node is a Docker container running on your workstation’s Docker instance. The worker node itself runs its own Docker and on this Docker instance all the Kubernetes deployments are running. This is totally cool on Linux since it eliminates the need for virtualization completely since Docker runs native on Linux. On Mac and Windows you use the virtualization that is part of Docker Desktop. So you need virtualization but it is perfectly integrated in your host operating system.
When I looked a little closer into the Minikube documentation I realized that Minikube can use Docker, too. So here is the first thing I learned new:
1. Minikube Docker Driver
The Docker driver became experimental somewhere around Minikube Version 1.8 in early 2020. It is now (Minikube Version 1.17) a preferred driver for Linux, macOS, and Windows.
If you use Minikube a lot, at some point you may have set configuration options, e.g. for the driver. Check with:
minikube config view
For the Docker driver it will show:
- driver: docker
You may have a setting like:
- vm-driver: virtualbox
That is ancient, vm-driver as a parameter has been deprecated for quite some time.
Initial start of a Minikube cluster will take some time because it needs to download the Docker image but consecutive starts should be a lot faster.
Update It seems that on Mac and Windows networking is different because of Docker Desktop:
- In many workshops I use NodePorts to access deployed applications. I use
$(minikube ip)to determine the worker nodes IP address andkubectl get svc XXX --output 'jsonpath={.spec.ports[*].nodePort}to get the corresponding nodeport. - You should use
minikube service XXXto access the service orminikube service XXX --urlto get the URL, instead. This seems to useminikube tunnel(see below) under the covers to gain access to the service.
I found more interesting features that I didn’t know before:
2. Minikube Service
The command minikube service makes working with Kubernetes services a lot easier.
-
Get a list of all services. If the service is of type “NodePort”, display the URL:
minikube service listResult (e.g.):
|----------------------|---------------------------|--------------|---------------------------| | NAMESPACE | NAME | TARGET PORT | URL | |----------------------|---------------------------|--------------|---------------------------| | default | kubernetes | No node port | | default | mysql | 3306 | http://192.168.49.2:32423 | | default | todo | 3000 | http://192.168.49.2:30675 | | kube-system | kube-dns | No node port | |----------------------|---------------------------|--------------|---------------------------| -
Restrict the list to one namespace:
minikube service list -n default -
Open a specific service in your default browser, e.g.
minikube service todowill open the URL for the
todoservice in your browser.I don’t know what happens if call your service ‘list’, though :-)
-
Get the URL of a specific service. Helpful in scripts:
minikube service todo --urlResult, e.g.:
http://192.168.49.2:30675
3. Minikube Tunnel
If you use an Ingress on Minikube, for example Istio Ingress Gateway, you will have noticed that the corresponding service never gets an external IP address because that is simply not possible on Minikube.
Example:
kubectl get svc -n istio-system
Output:
NAME                   TYPE           CLUSTER-IP       EXTERNAL-IP   PORT(S)                                                                      AGE
istio-ingressgateway   LoadBalancer   10.106.56.168    <pending>     15021:32561/TCP,80:30169/TCP,443:30629/TCP,31400:30606/TCP,15443:32011/TCP   97m
...
Now, in a separate terminal session execute:
minikube tunnel
minikube tunnel creates a network route on the host to the service using the cluster’s IP address as a gateway. The tunnel command exposes the external IP directly to any program running on the host operating system.
Note: The command requires root rights (sudo) because it creates a network configuration.
If you check the service now, the result will look similar to:
Output:
NAME                   TYPE           CLUSTER-IP       EXTERNAL-IP     PORT(S)                                                                      AGE
istio-ingressgateway   LoadBalancer   10.106.56.168    10.106.56.168   15021:32561/TCP,80:30169/TCP,443:30629/TCP,31400:30606/TCP,15443:32011/TCP   4h37m
The IP address 10.106.56.168 will be available on your workstation.
You can then use services like nip.io or xip.io to create dummy DNS entries, like myingress.10.106.56.168.xip.io.
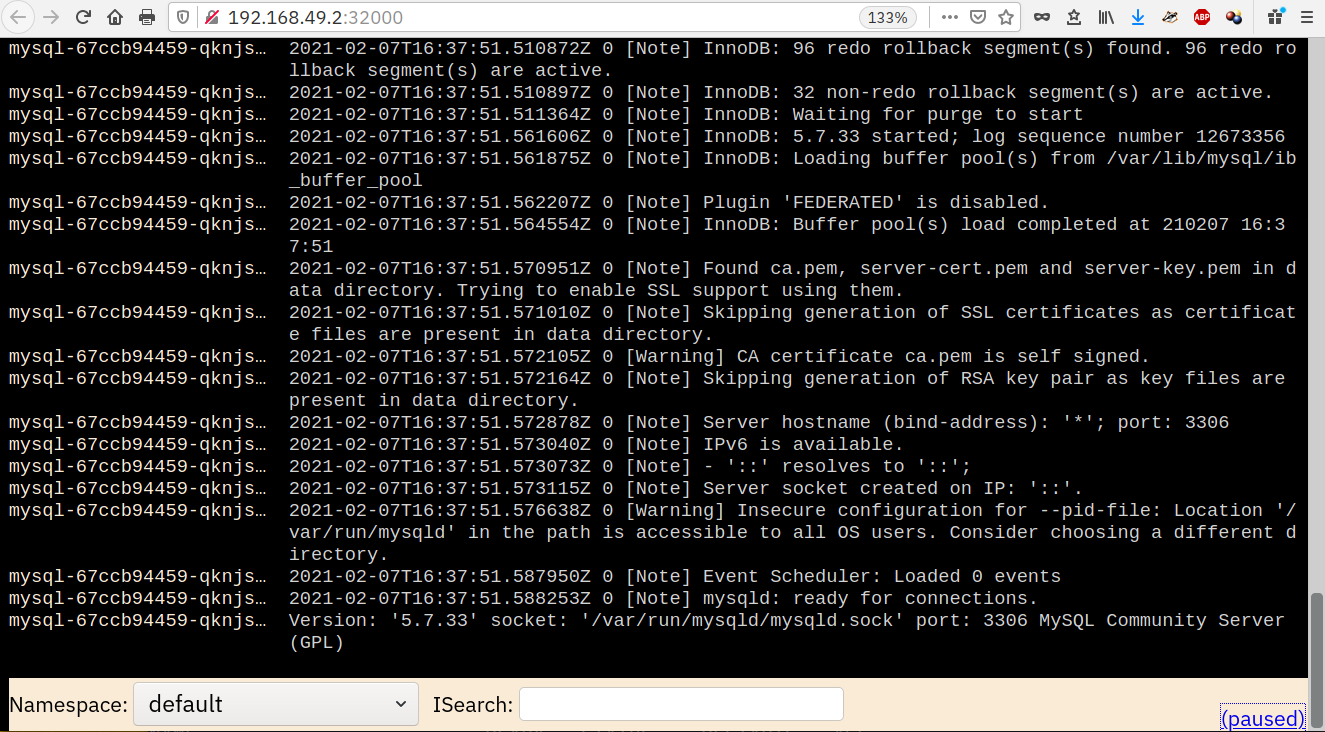
4. Minikube Logviewer
Central logging is important and helpful. But installing something like an ELK stack may be a bit overwhelming for Minikube. A while ago I found the Minikube Logviewer which is quite simple and doesn’t require a lot of resources.
Now I found out that it is available as a Minikube addon, too. Enable it with
minikube addons enable logviewer
For some reason you need to restart your Minikube cluster but after that it works:
I hope you will find this list helpful!